Graphic Designing with Adobe Lightroom - Beginner's Guide
While Adobe Lightroom is primarily known as a powerful photo editing tool for photographers, it also offers great features to enhance graphic design projects when combined with creativity. You can use Lightroom to perfect images, create eye-catching visuals, and prepare assets that integrate well into your designs.
8/4/20252 min read


Step 1: Import Your Images
Open Lightroom and create a new catalog or open an existing one. Click “Import” and select the photos or images you want to use in your graphic design projects. Organizing your images into folders can help keep your workflow efficient.
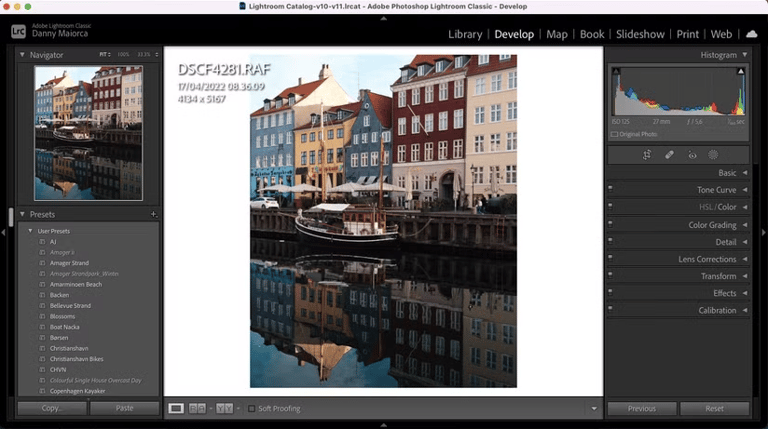
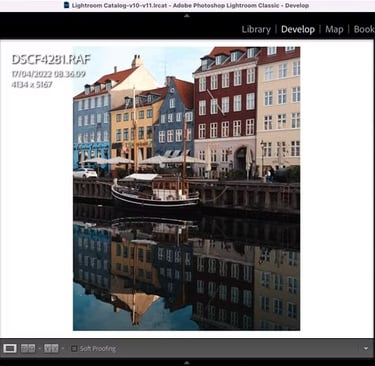
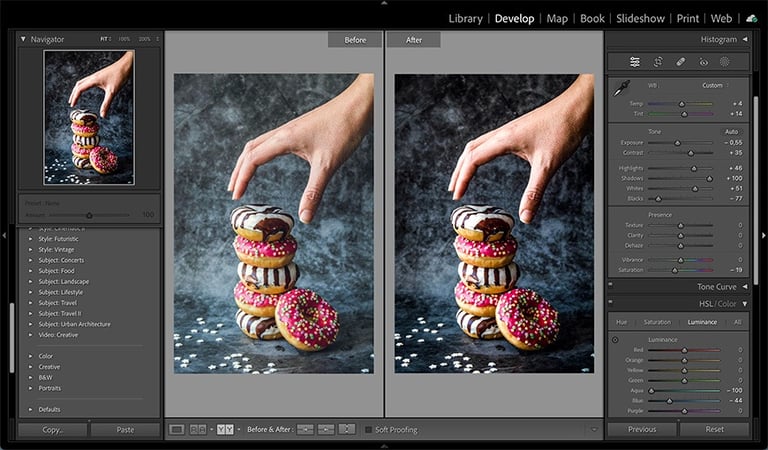
Step 2: Basic Photo Enhancements
Navigate to the “Develop” module to start editing. Adjust the exposure, contrast, highlights, and shadows to improve the overall look of your images. These foundational tweaks ensure that your graphics have vibrant, professional-quality visuals.
Step 3: Color Correction and Grading
Use Lightroom’s color sliders to adjust temperature, tint, vibrance, and saturation. For impactful graphic design, you can create a consistent color palette by color grading your images—making sure they match your brand or project mood.
Step 4: Use Presets and Profiles
Lightroom offers presets that apply consistent styles with one click—perfect for maintaining a uniform aesthetic across all your graphics. You can also create your own presets tailored to your design needs.
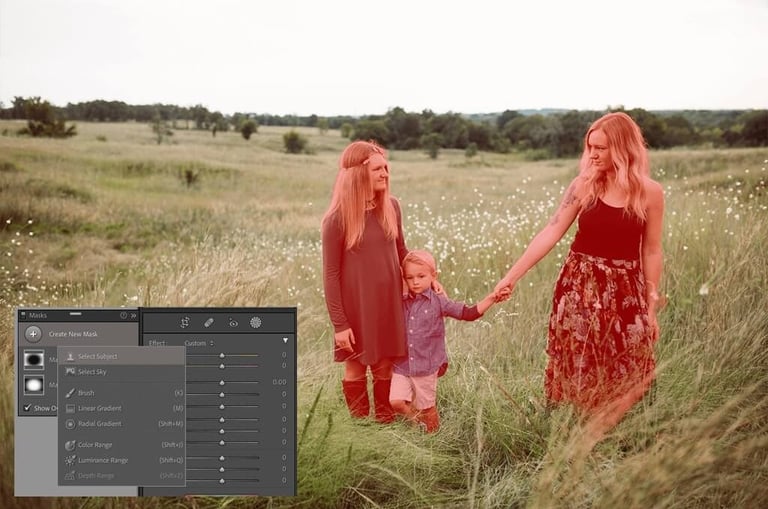
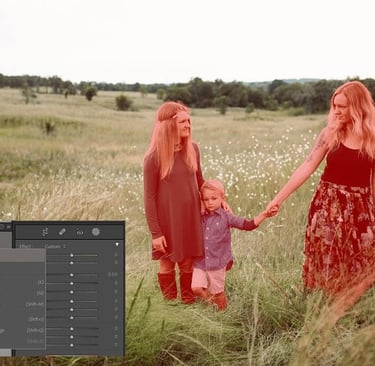
Step 5: Apply Masks and Selective Edits
For more detailed edits, use Lightroom’s masking tools to adjust specific areas of your image. For example, brighten a face or darken a background without affecting the entire photo. These targeted adjustments add depth and focus to your designs.
Step 6: Adding Text and Graphic Elements (External Step)
While Lightroom doesn’t support direct text or graphic overlay, you can export your enhanced images and import them into graphic design software like Adobe Photoshop or Illustrator to add text, logos, or other elements necessary for your graphic design project.
Step 7: Export Your Work
Export your photos in high resolution suitable for print or digital use. Choose formats like JPEG, PNG, or TIFF depending on your project requirements.
Using Lightroom as part of your graphic design process helps create polished images that make your designs stand out. However, mastering all steps and keeping up with production demands can be time-consuming.
That’s where VA Oracle can help. By outsourcing your photo editing and design prep tasks, you free up time to focus on your creative concepts and business growth. Virtual assistants experienced in Lightroom and graphic design tools ensure your projects are completed in an efficient, cost effective way and to professional standards.
Ready to elevate your graphic design workflow effortlessly? Contact VA Oracle today to handle your Lightroom photo editing and design preparation tasks so you can concentrate on creating captivating visuals that make an impact!