Video Editing with Filmora - Beginner's Guide
Wondershare Filmora is a user-friendly yet powerful video editing software ideal for beginners and professionals alike. With intuitive tools and creative features, Filmora helps you create stunning videos quickly and easily. Here’s a step-by-step guide to editing your first video with Filmora.
6/24/20253 min read


Step 1: Download and Install Filmora
Start by downloading Filmora from the official Wondershare website. Installation is straightforward, and Filmora supports both Windows and Mac systems. Launch the program once installed.
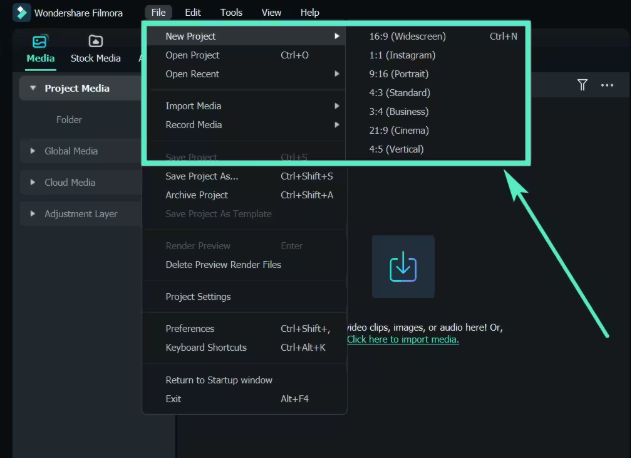
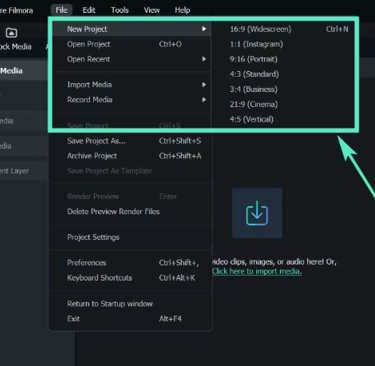
Step 2: Create a New Project
Open Filmora and click on “New Project.” Choose your preferred aspect ratio, such as 16:9 for YouTube or 9:16 for Instagram Stories. Setting this correctly ensures your final video fits its intended platform.
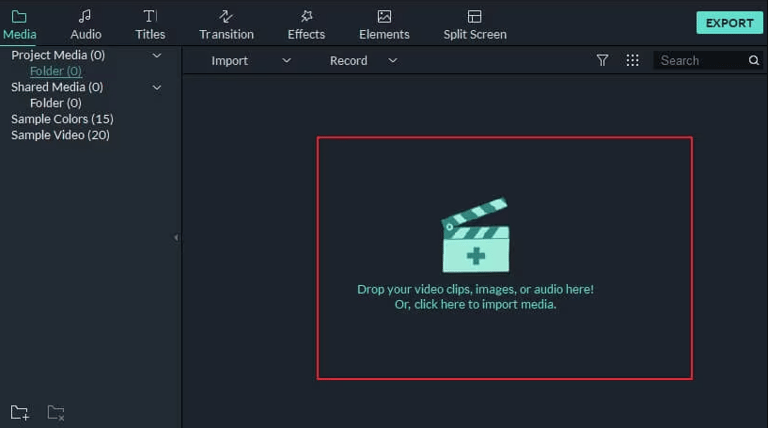
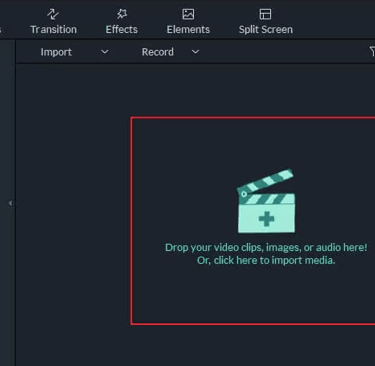
Step 3: Import Your Media
Click the “Import” button to add video clips, photos, and audio files from your device. Once imported, drag your media files onto the timeline at the bottom to start building your video.
Step 4: Trim and Arrange Clips
Select a clip on the timeline to trim its length by dragging the edges inward. To split a clip, move the playhead to the desired point and click the “Split” tool. Rearrange clips by dragging them along the timeline to create the desired sequence.
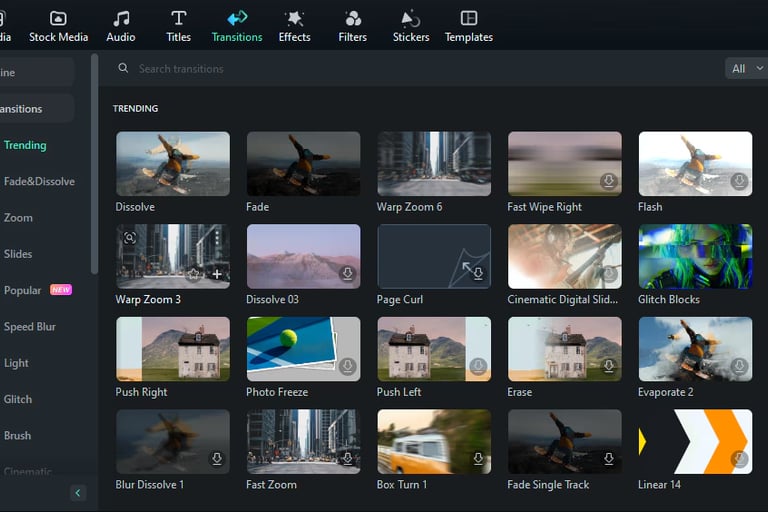
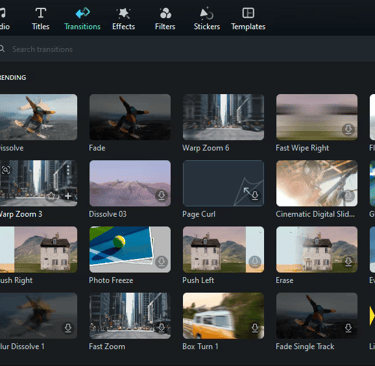
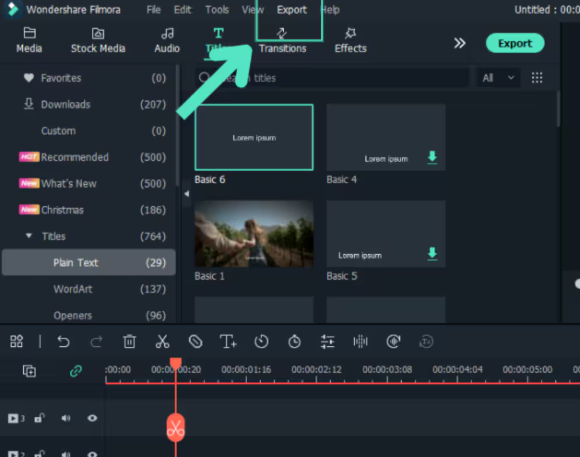
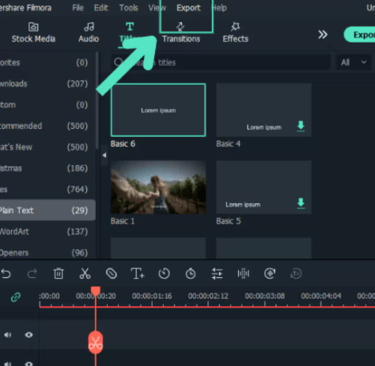
Step 5: Add Transitions and Effects
Filmora offers many transitions like fades, wipes, and slides to smoothly connect clips. Access these via the “Transitions” tab and drag your choice between clips. You can also apply filters and overlays from the “Effects” panel to enhance visual appeal.
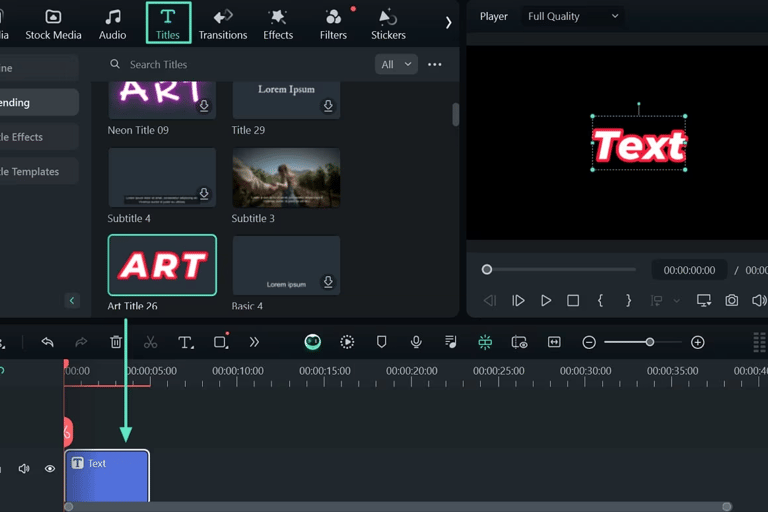
Step 6: Insert Text and Titles
Add opening titles, captions, or credits by navigating to the “Titles” section. Customize font style, size, and color, then position the text on the timeline to appear when needed.
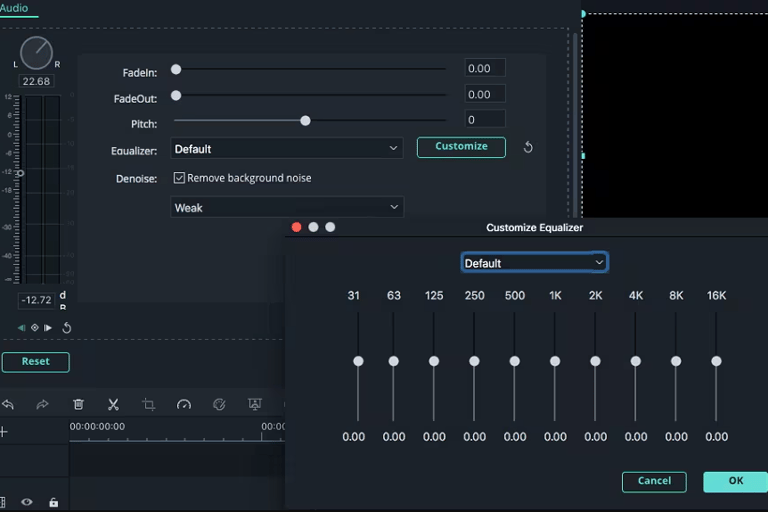
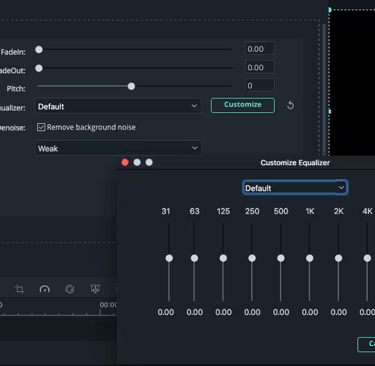
Step 7: Work with Audio
Add background music or voiceovers by importing audio files or using Filmora’s built-in library. Adjust the volume, fade in or fade out, and synchronize audio with video clips for a professional sound experience.
Step 8: Color Correction and Enhancement
Use Filmora’s color correction tools to adjust brightness, contrast, saturation, and hue. This step can drastically improve the look and mood of your video.
Step 9: Preview and Export
Play back your edited video to ensure everything flows smoothly. When ready, click “Export,” select your preferred format (MP4 is common), resolution, and save location. Filmora also offers direct sharing to YouTube and social media platforms.
Editing your own videos with Filmora can be incredibly rewarding and unleash your creative potential. However, if you find video editing time-consuming or want to focus more on content creation and strategy, letting one of VA Oracle's experts do it for you can be a great solution. These experts can handle your Filmora projects efficiently and deliver polished videos faster, at very affordable prices, letting you scale your content without the stress.
Ready to create stunning videos without the hassle? Partner with VA Oracle today to outsource your Filmora video editing and take your content production to the next level!